How to Use Canva: Free Online Graphic Design Tool
Today I'm joining you to talk about my favorite new online photo editing tool - Canva! Seriously, I'm really obsessed with this photo editing option. Not only does it allow you to create some really sweet pictures and documents, but it is FREE. I love me some free!
Canva allows you to create Facebook posts, Instagram posts, Facebook banners, Infographs, Brochures, PDF's, Collages and much more.
You can also create custom sizes as well, which is very helpful for website banners and other custom pieces. The program allows you save the completed file as a jpg, png or pdf - talk about options. Ok, now lets talk about the fun stuff!
I've included some images below that were created in Canva. All of these images are free, they do offer ones you can pay for and the price is only $1, but I've found with a little creativity you can create some really eye-catching pieces for nothing.
Canva will walk you through the design process in the beginning, but I'm going to share some of my favorite little tweaks.
1) Modify Colors - You can modify the colors to meet your specific brand colors. Simply click the little color square and then select the +, then simply add in your custom number. You can modify the color of text, elements and background colors.
2) Use Your Own Photos - I absolutely love this feature because you can upload photos to use as a background. Simply uploaded as many photos as you desire to the Uploads section. Make sure the design you chose (which is most) has an image as the background. Then simply drag your photo until you see it cover the whole background - Voila!
3) Add Shapes - Canva has a great database of elements to add, but my favorite hands down are the shapes. You can add something as simple as a circle or add a photo into the form of a shape, as seen below. Simply choose Elements in the side panel and click Shapes. The white, gray and colored shapes can be modified for transparency or color. In order to change the photo thats in the shape, scroll down until you see the shape with a vibrant landscape in it - that is the one you want. Simply drag a photo into the shape and there you have it.
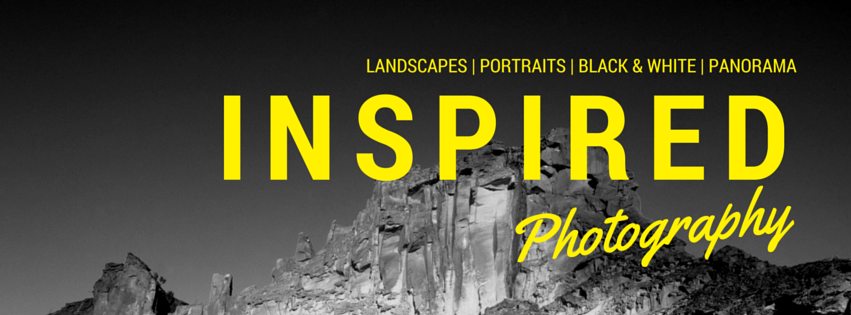
4) Modifying Text - This option is also very easy and can be customized to fit your brand. There are multiple typography design options under the Text option on the side panel. You can work with some of those, although it takes a lot of testing the waters because sometimes space is limited. Often times I will just select the Add Heading option and take it from there. In the piece below I've included a few images to show how I add text, modify color, as well change the size and spacing between letters.
Modifying Color
Changing Font Style
Modify Typography
What started out as the image on the left, has now been modified to fit my brand the feeling I wish to evoke. Pretty sweet!
There are multiple small tweaks you can do to modify the images as well. These include sending a shape or text to the front or back of an image. Making an image transparent as to show a text overlay. Cropping images is a great tool as well. It really is a completely customizable experience for the user without having to deal with some more complex programs like Photoshop or InDesign. Once the image is to your liking, just save and upload.
I've included some generic images from Canva below so you can see that the possibilities are endless.
I hope you find this tool useful while branding your business. Remember the first place to start is an inspiration board. After that is created you can modify the images to match your brand colors, text and the overall feeling you want your brand to evoke. Stay consistent on all platforms!
*Remember - social media posts with an image associated produce more impressions!
Be Merry!
If you haven't already be sure to sign up below to stay up to date on new blog posts and happening with Brandmerry.


